Welcome!
Love to cook? Try foolproof, flavor-packed recipes you’ll make on repeat
Spend more joyful time cooking with step-by-step, everyday recipes that build confidence. Get pro tips and battle-tested dishes from a cookbook author—flavorful, reliable, and ready to become your new go-tos.
Home-Cooked, Kitchen-Tested Recipes


Hey, I’m barbara
Welcome—so happy you’re here!
the cook behind Koya Recipes. This space celebrates the comfort of homemade food, shaped by my grandmother’s gentle guidance. With everyday ingredients and plenty of heart, we’ll share recipes and moments that make your table feel like home.
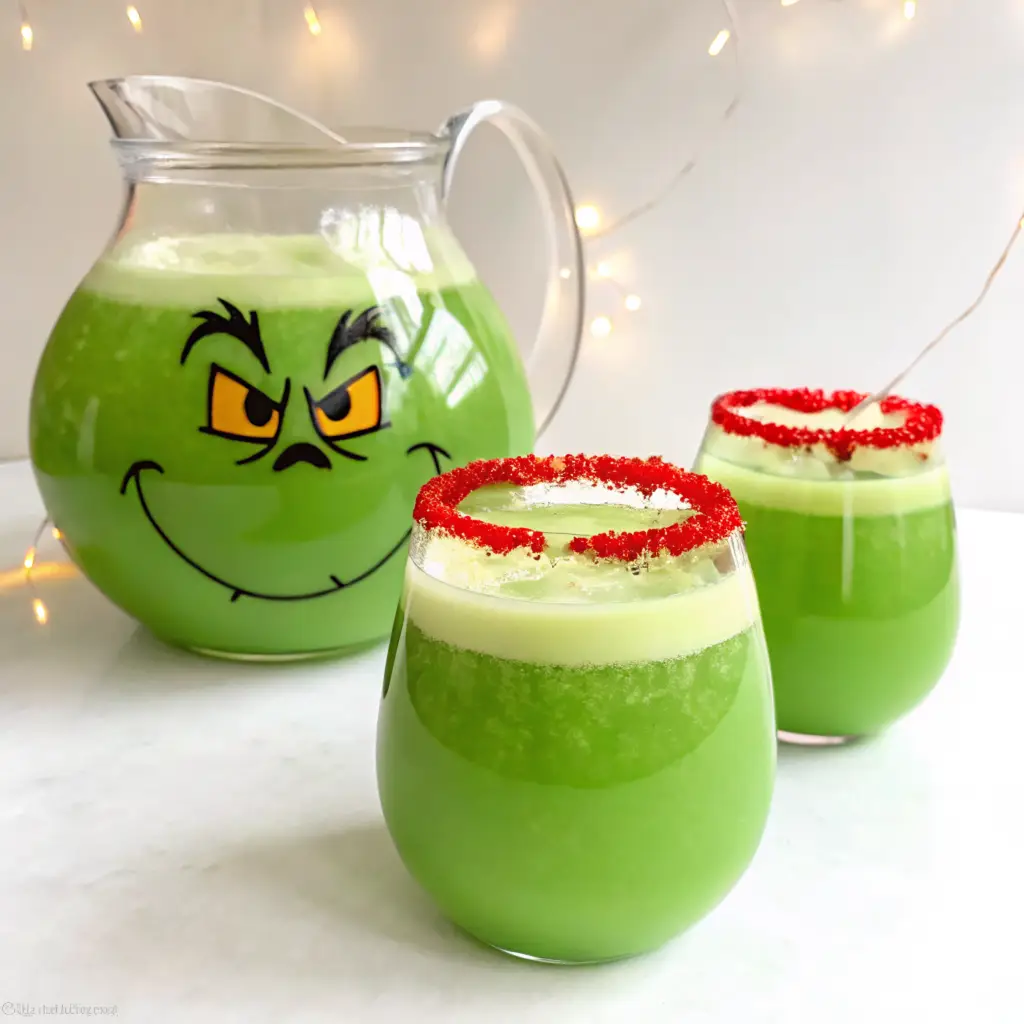
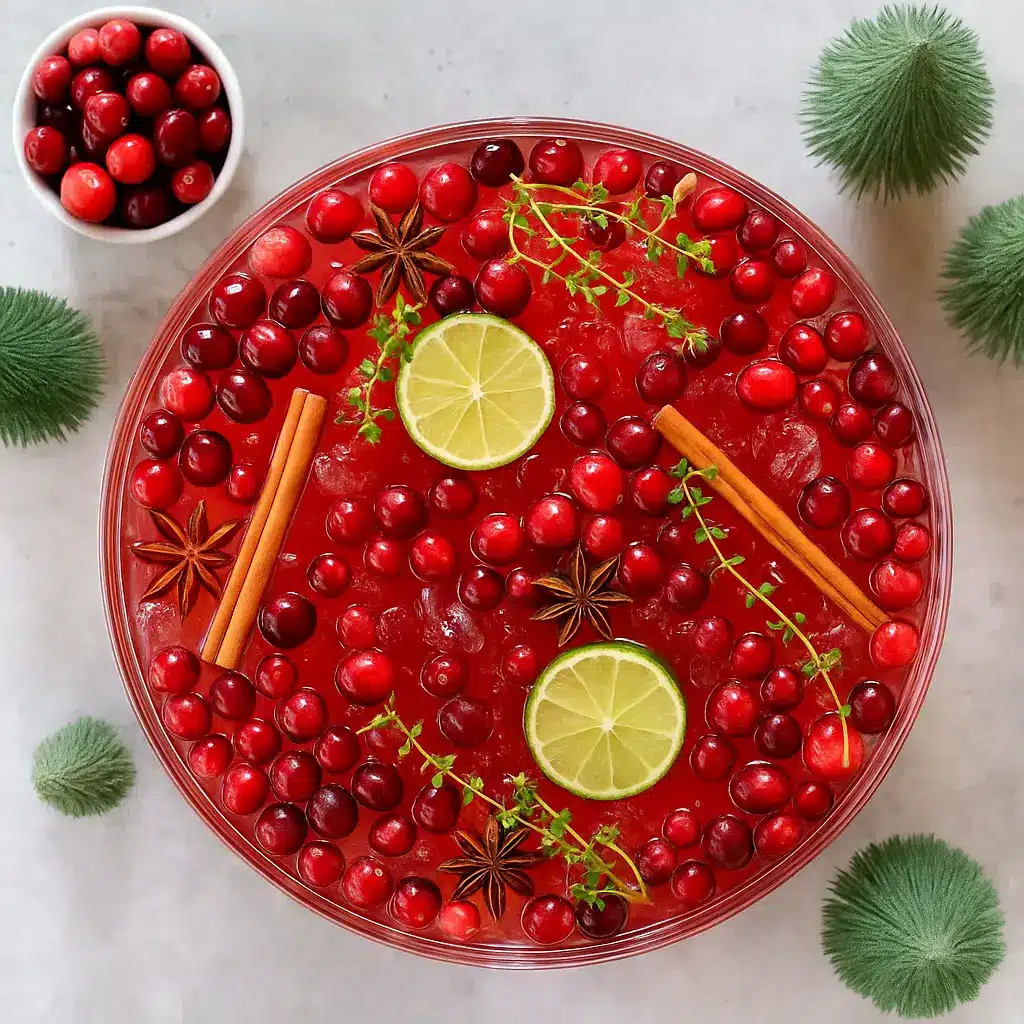
Drinks


Weekly Newsletter
Get the latest recipes and my top tips straight into your inbox!